Remember way back when I recovered my
dining room chairs?
What the heck was I thinking?! Pale yellow fabric on my DINING room chairs that we eat at EVERY day for EVERY meal with THREE children!
Yeah, they didn't last long. Big surprise, huh? I bought new fabric eons ago, but finally with Thanksgiving looming I decided to recover them so my guests wouldn't be afraid to sit on my chairs. They were THAT nasty. Don't worry, I'm sparing you a picture of them.
Recovering dining chairs is one of the simplest reupholstery projects around. I think I've done mine about 4 times now and like I say, if I can do it than anyone can!
First, you need to remove the seat from the chair by unscrewing the seat from the bottom. Then, using pliers and a flat head screwdriver, pry off the staples to remove the fabric to use as a pattern for your new covers.
Or, do what I did and leave the original fabric on and simply draw a rough shape for my chair making sure that I leave enough on the sides to staple the fabric under, usually a good 2-3 inches all around. It's better to have too much than too little. When I recover the "recover", I do take off the second fabric cover simply because it can get too bulky to screw the seat back on. I never leave more than the original fabric on. I tried it and it doesn't work on my chairs.
It's a simple staple at the top, pull the fabric tight as you can at the bottom and staple. Then staple to the left, and pull tight as you can to staple to the right. Then I proceed to staple around the chair pulling tight without pulling the design askew on the front. Sounds complicated, but it's not. You have to take a little care around the corners making sure to pull and fold the fabric just right so it doesn't look to bunchy at the corners.
Another good tip, is to make sure to leave the holes to screw it back into the frame accessible by trimming the fabric away.
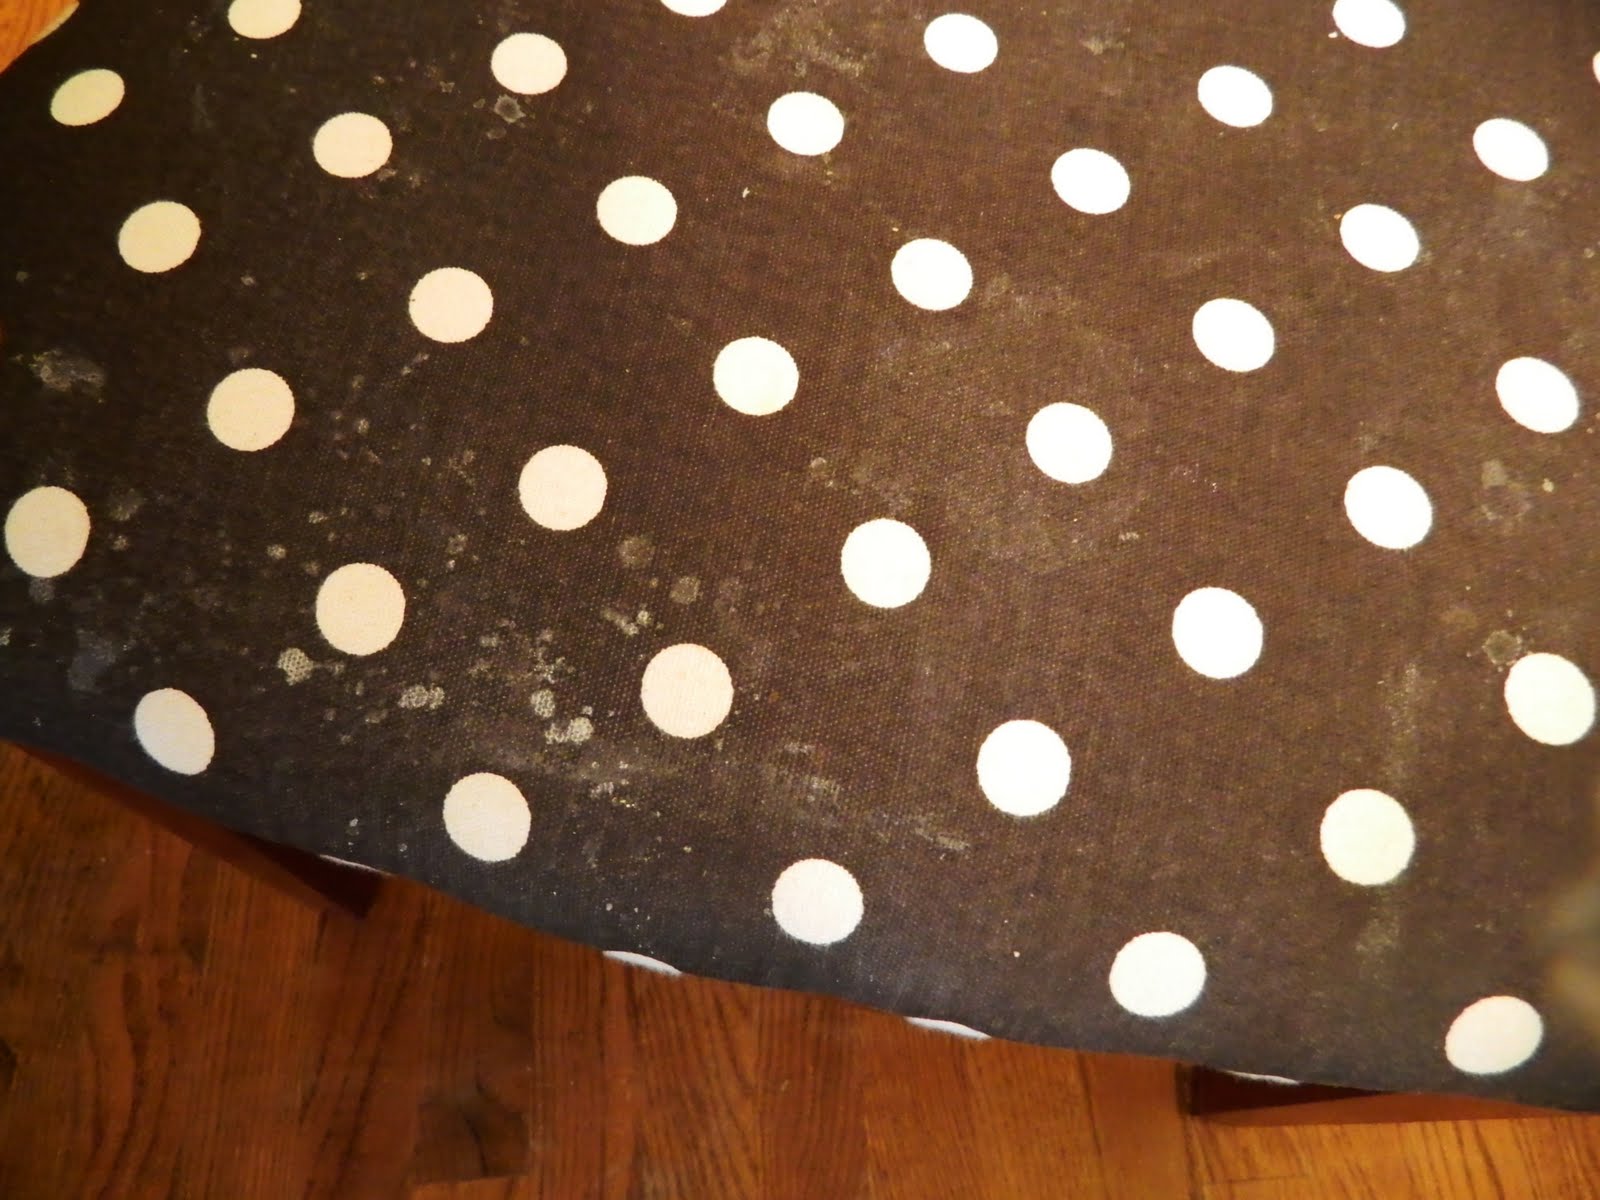
LOVE, LOVE, LOVE my dining room chairs! They look sorta black in this photo, but it's more of a dark chocolate brown. I'm in love with them. Yes, I scotchguarded them and yes, the littlest one has already left marks on it anyways. I keep scrubbing away at them, but I still find these little spill marks on them from milk of all things. So I'm in sure in a year I'll have to recover them again. :) For now though, don't you LOVE them, too?!


 holy cow! i'm still speechless when i see these pictures. i promise i didn't lighten one and darken the other. they were both done on a sunny day at 10am. craziness. the blue just reflects the sunlight soooo much. my chairs came out nice and clean, albeit a little faded. i painted the furniture a nice muted black and added several coats of poly to the top. we decided to take the leaf back out of the table and just deal with being a little cramped. i didn't do much for the decorating except add a work-in-progress gallery wall. i did make some new napkins and threw my stuffed pears into a bowl to help bring some color and fun into the room. i was worried the pale blue walls and the black furniture would be too...i don't know...too "something that wasn't me." that probably doesn't make sense to anyone else but me.